Android Emulator
Table of Content
In this tutorial we will see how to create Android Emulator in Android. Android Emulator is used to run a program which emulates real device. We will create new emulator using Android Virtual Device AVD manager. While creating the device we can select API Level and device model. Its like configuring your own device according to requirements.
Android Emulator Steps
Step 1
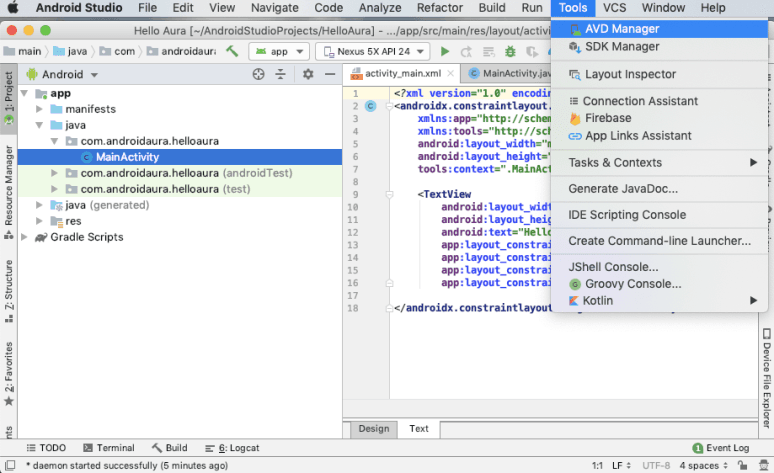
Once you downloaded and installed Android Studio successfully, go to Tool option in the menu and click on AVD manager as shown in the image below.

Step 2
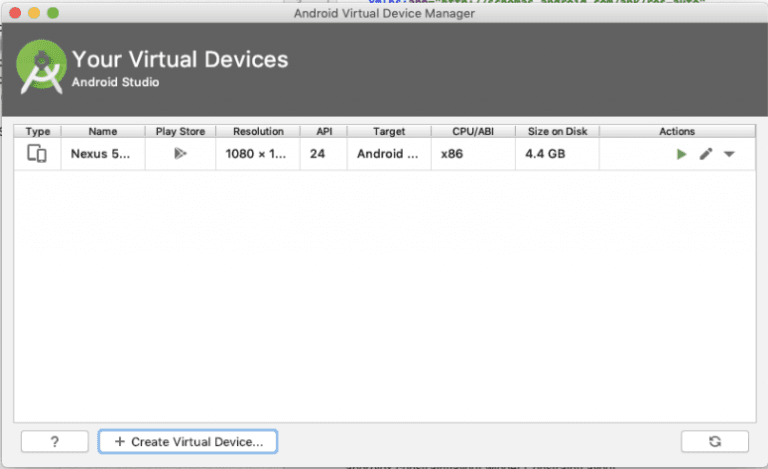
In second step we will Create Virtual Device. To create a virtual device click on Create virtual Device option.
Step 3
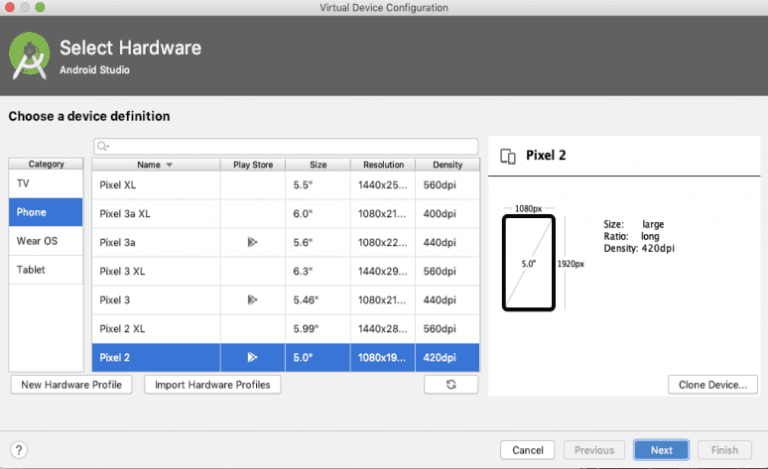
Now new window will open with Select Hardware message. Create your own “New Hardware Profile” or simply select any device from the given list. Click on Next once Hardware Profile is configured.
Step 4
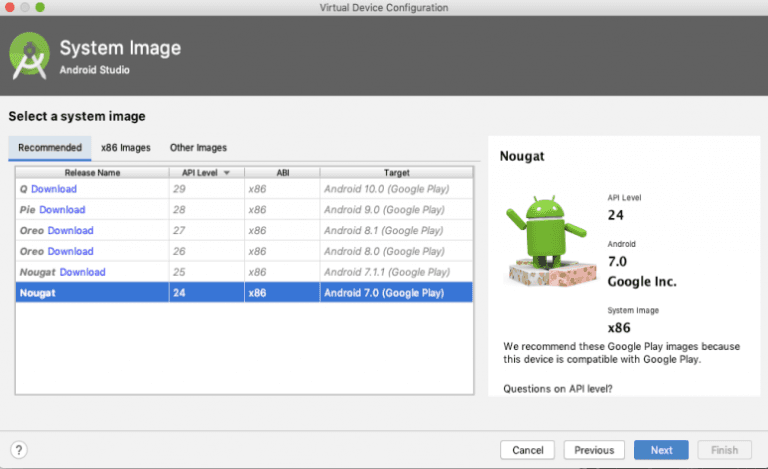
Select your desired API level and click on Next to continue.
Step 5
Give your new profile a name and select Startup Orientation and click finish to create your Android Emulator.

Step 6
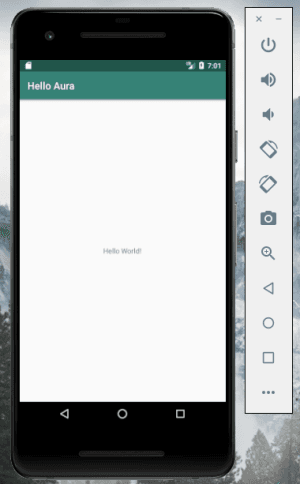
Run you application. Here you will be able to see your device in “Available Devices” in drop down menu.


Now you will be able to see your device as show in image below.