Icon for android app
Table of Content
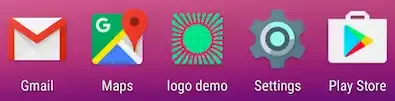
Changing the icons for your apps is a great way to personalize your Android phone. This icon can be modified according to your application requirements. Below image displays icons of different applications.

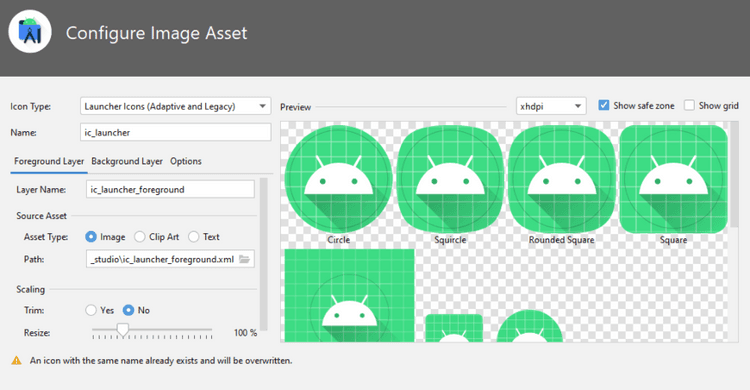
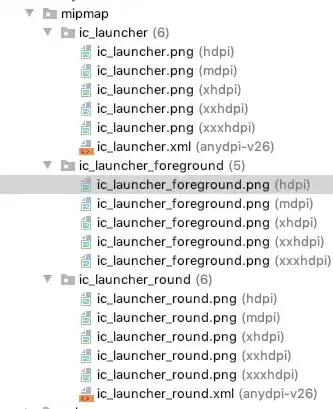
Depending on the Android devices screen resolution and density, you will have to create icons for each dimension. Moreover, Android Studio provides us with a tool called Image Asset Studio which simplifies the task of creating icons for all screen densities.
If you choose the traditional method, here are the sizes for which you need to create the launcher icon:
The dimensions of the icons for each generalized screen density
| Icons | Screen Density |
|---|---|
| LDPI | 36 x 36 |
| MDPI | 48 x 48 |
| TVDPI | 64 x 64 |
| HDPI | 72 x 72 |
| XHDPI | 96 x 96 |
| XXHDPI | 144 x 144 |
| XXXHDPI | 192 x 192 |
| WEB | 512 x 512 |